Modifications for Better Grit Flow
Author: Irene D'Aloisio Published: Revised: July 19, 2006
Here is how we made the pipe that goes into a pot to
facilitate the grit flow. It works for us and for people we’ve
given the instructions to. However, it may not work for you.
It’s an inexpensive fix – a few dollars and a little time – so it may be
worth a shot. This is for our Harbor Freight pot and works really
well for us. I can use the pot until the grit flows down to about
an inch or two. I was amazed that such a simple fix would work so
well. No more shaking the pot.
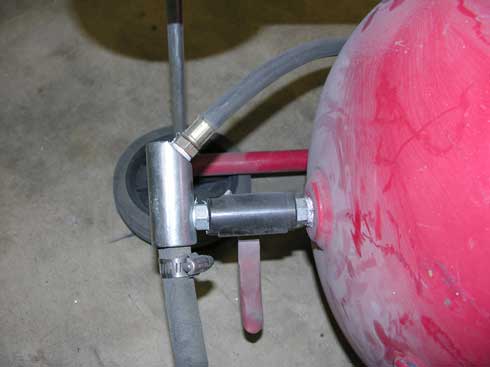
At the bottom of your pot, there should be a ‘tee’. A nipple from your pot goes into this tee to allow the grit to flow from the pot to the hose. Take this nipple out of the pot. It is OK to leave the tee attached while you work on it if you’re careful.
We used some soft/flexible copper tubing we had laying around for the ‘pipe’. It’s a ¼” inner diameter tube, about 8 inches long. The outer diameter of this tubing is about 3/8". The nipple on our pot has a smaller hole than the inner diameter of the copper tubing. We wanted it this way; the tubing is a little bigger than the hole in the nipple.
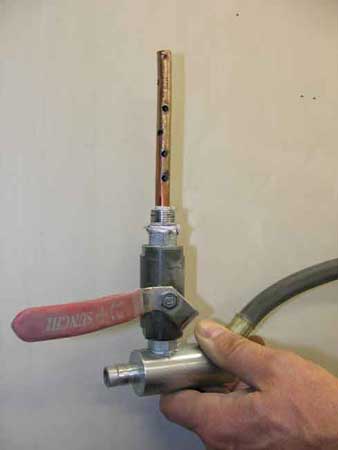
We drilled holes crossways in the tubing, going all the way through both sides...but carefully so the tubing did not collapse. The drilled holes are 5/32” and are about 1" apart and are offset from each other. For our tubing, we used a 3/8” drill bit. After drilling, we used a rat-tailed file to remove all the burrs from the tubing. We first went in one end of the tubing, inserting the file down the tube (not into the drilled holes, unless there are burrs). Then we flipped the tube and went in the other way. After filing, be sure to blow it out well so it is clean. If you don’t remove all the burrs, the grit flow may be impeded by the burrs in the pot and you’ll be back to where you started. If you can’t get to all areas of the tube with the file, use a shorter tube as this is a critical item.
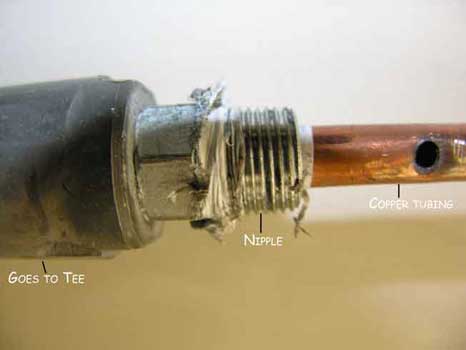
With the nipple removed from the pot, we drilled into the nipple, going about 2/3 of the way down the nipple, to make it slightly bigger so the copper tubing would fit snugly into it, sitting on the ridge inside the nipple made by the drill. We then inserted the tubing into the nipple and then put it back into the pot. If the tubing seems loose, very gently hit the end of it to flatten it just a little. This should snug up the fit. Or you could also use a little 2-part epoxy on the end of the tubing to help secure it, but be sure to Q-tip any excess from the inside of the tube. Here’s what the nipple looks like after you drill it out and set the tubing in it.
Points: Don’t drill so many holes the tubing collapses. It needs to retain its shape. Be very careful tapping it into the nipple so it remains straight. This is just a very crude but effective (for me!) solution. If you stick things into the pot other than grit, be mindful that the pipe/tubing can bend.
|
|
©2005 Graydog Services • webmaster: jim(at)graydog(dot)org |