Text on Compound Curved Substrate
for computer generated artwork
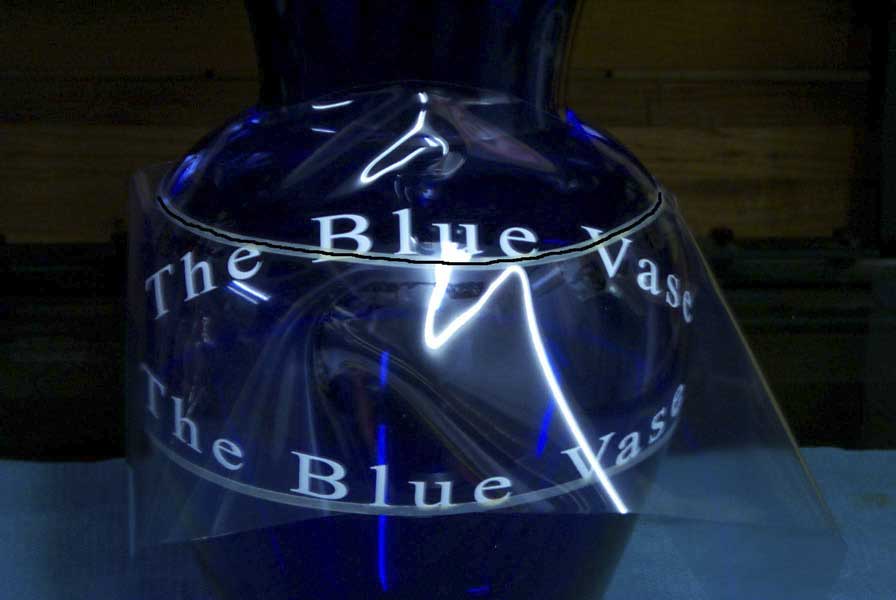
Author: Tom Eddleman Posted: Revised: August 03, 2005 Requirements: Adobe Illustrator or Corel Draw File “Curves.ai”; (download below) Whenever you put text on a compound curve it distorts to the point where it’s either smiling or frowning. Rarely is it attractive so to make it look correct we have to do an alteration to the mask to make it fit correctly. This is one way to do that; certainly not the only way, but the easiest that I’ve found so far. The first thing to do is to mark the substrate with a horizontal line where you want the base of your text. Then wrap a piece of vellum, clear cling vinyl, or tracing paper around that area. Trace the base line on the vellum. Illustrator files:saved down to version 6: click to download
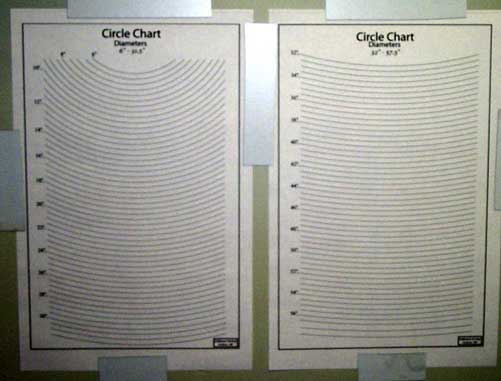
The wall chart that can be printed is helpful, but not imperative. The two sides of the Arc file are 11” x 17”. If you have a printer that will print 11” x 17” or know someone that does it will be helpful. If you want to you can ask me, and I’ll send you a chart for the price of the postage. Remove the vellum and compare the arc to the chart of arcs. This is where you will find what arc matches with where you want to place it on the substrate. You can also cut and paste several of the arcs from the file to an 8 ½” x 11” page setup and print them to draw a comparison. That will tell you what diameter circle that you need to include in your Illustrator or Corel Draw drawing. Steps in Illustrator:With the selection tool (black arrow) select the arc that matches the one that you traced. Ctrl-C will copy that arc. From the file menu choose New and Ctrl-V to paste the arc in the New document. From the Character/Paragraph pallet select the font and size that you want from the Character heading. If the Character/Paragraph pallet isn’t on your desktop hit Ctrl-T. Under the Paragraph tab select the align center tab. From the main pallet choose the Path Type Tool. It’s the one that looks like a T going downhill. Click the curser on the center of the arc. As you type in your text it will probably be centered, but upside down. When finished typing select the text with the Path Type Tool, click on the Direct Section Tool (white arrow) and double click on the top side of arc where the text is. The text should jump across the arc and read left to right. Ctrl-Shift-O will convert the text to outlines. It’s ready now to send to a plotter for cutting or printing a transparency. Place this resist on the line on your substrate and it should be straight. After rereading this it sounds a lot harder than it really is. With practice it will become second nature. If you have to put text on compound curves fairly often it’s worth the trouble to learn.
|
|
©2005 Graydog Services • webmaster: jim(at)graydog(dot)org |